
Overview
Key Benefits
🌍 Multi-Country Reach with a Single Integration
Integrate once with the Xendit Terminal API and deploy in-person payments across Southeast Asia. The same API works in Indonesia, Thailand, Vietnam, and Malaysia — with upcoming support for the Philippines.💳 Universal Payment Acceptance
Accept payments from Visa, Mastercard, JCB, UnionPay, American Express, local debit cards, and QR payments.⚡ Fast Deployment and Go-Live
Our streamlined onboarding and close bank partnerships allow you to receive devices in multiple countries and go live in weeks, not months.🧩 Flexible Integration Options
Connect your POS or software directly to the terminal through our API for self-serve kiosks, automated amount entry, transaction confirmation, and reconciliation.🧑💼 Consultative Support
Our global operations and customer success teams collaborate closely with your Finance and Operations departments to optimize workflows, provide training, and ensure smooth payment acceptance.Country Availability & Supported Payment Methods
| Country | Payment Methods | Payment Channels | |
|---|---|---|---|
| 🇮🇩 | Indonesia | Credit Cards | Visa, MasterCard, JCB |
| Debit Cards | GPN | ||
| QR Payments | QRIS | ||
| E-Money | Brizzi | ||
| 🇹🇭 | Thailand | Credit Cards | Visa, MasterCard, JCB, UnionPay, American Express (AMEX) |
| Debit Cards | Visa, MasterCard | ||
| QR Payments | Thai QR PromptPay, TrueMoney Wallet, LINE Pay, ShopeePay, Alipay, Alipay+, WeChat Pay, MaxMe Wallet | ||
| Installments | Bangkok Bank, Krungsri (Bank of Ayudhya), SCB (Siam Commercial Bank), Kasikornbank (KBank), Krungthai Bank (KTB), TTB (TMBThanachart Bank), Shopee SPaylater Coming soon: UOB | ||
| 🇻🇳 | Vietnam | Credit Cards | Visa, MasterCard, American Express (AMEX), JCB, UnionPay |
| Debit Cards | NAPAS | ||
| QR Payments | Viet QR | ||
| 🇲🇾 | Malaysia | Credit Cards | Visa, MasterCard |
| Debit Cards | MyDebit, Visa, MasterCard | ||
| QR Payments | DuitNow QR (Coming Soon) | ||
| 🇵🇭 | Philippines | Coming Soon | Coming Soon |
How It Works
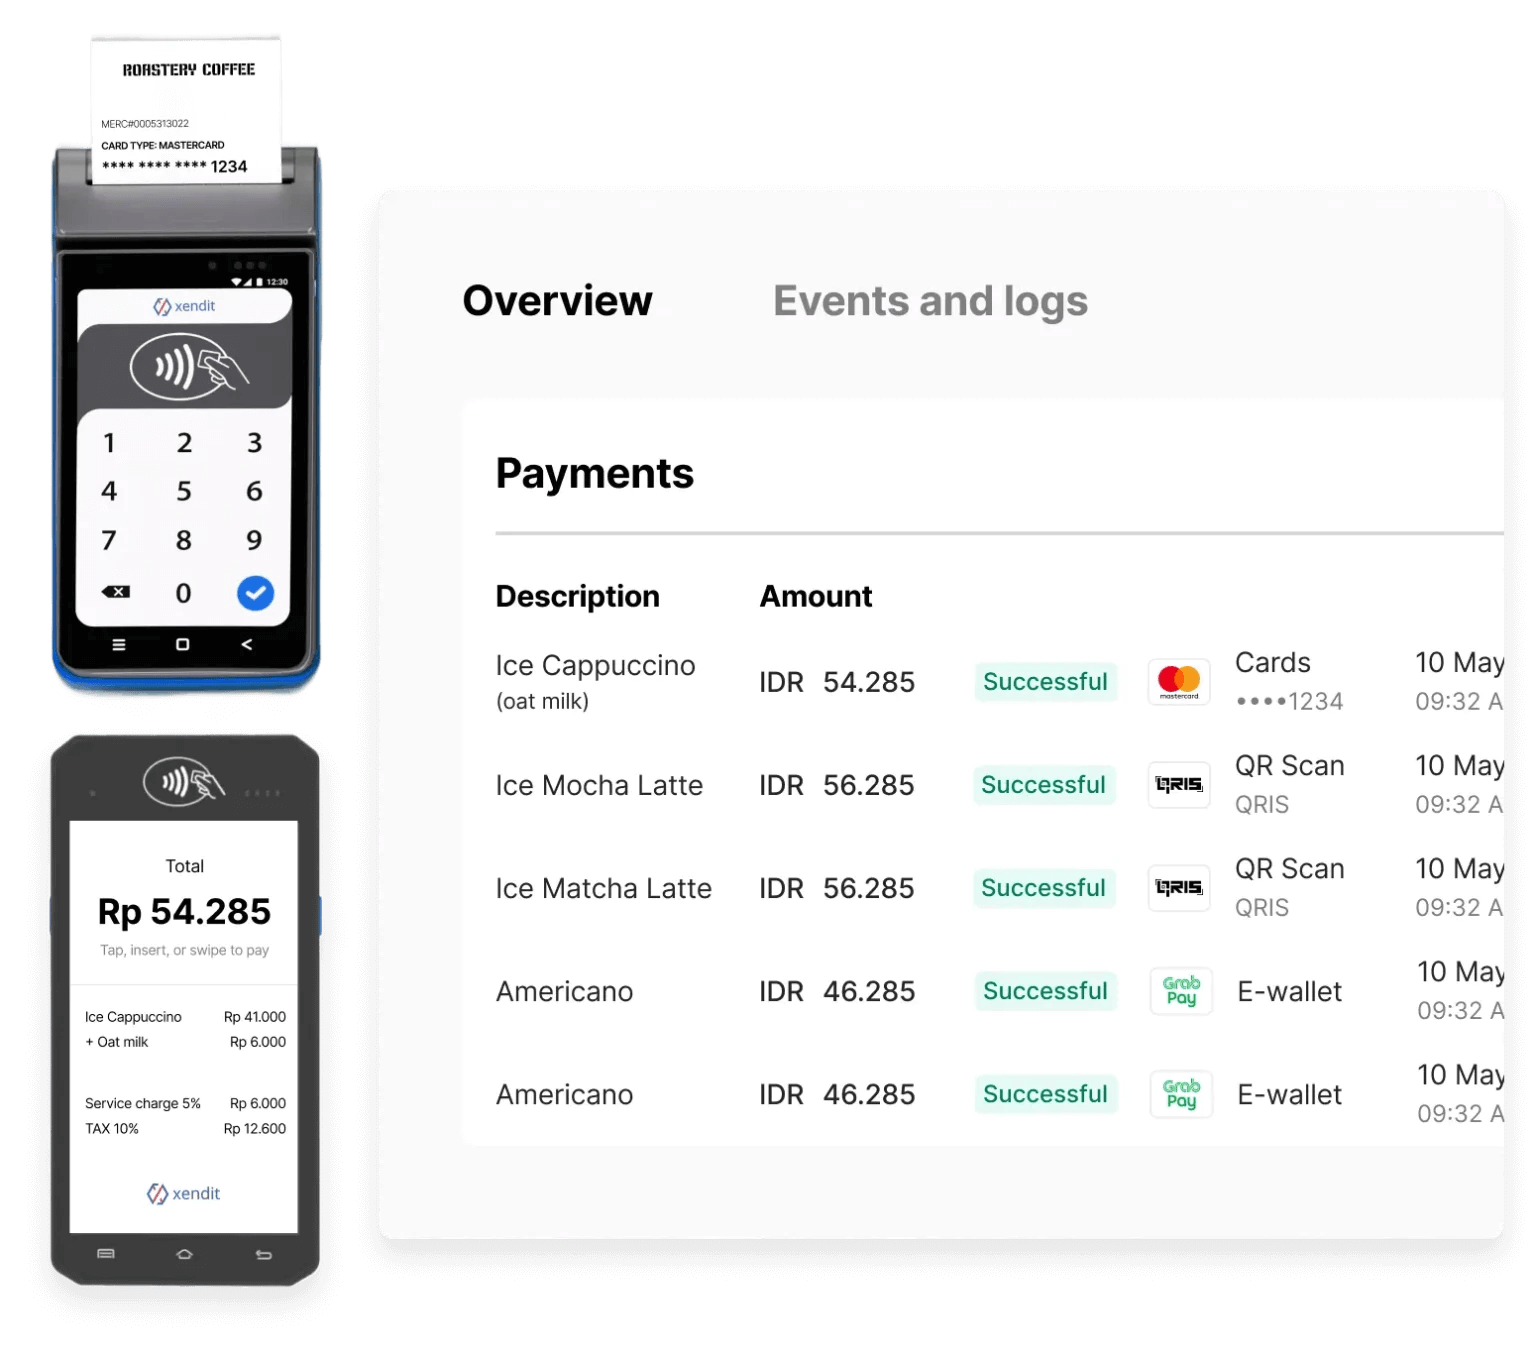
Xendit Terminals can be used with or without API integration.POS-Integrated Payment Terminal
In this setup, your POS system communicates directly with Xendit Payment Terminal via our API. This enables automated payment workflows where transaction amounts are sent directly from your system to the terminal.1
Create payment session
Your POS system creates a payment session through Terminal API with the transaction amount and terminal details.
2
Customer completes payment
The terminal prompts the customer to tap, insert, or swipe their payment card or scan QR code.
3
Receive real-time updates
Your system receives payment status updates through webhooks.
4
Complete transaction
Payment is confirmed, and you can print receipts or update your inventory system.
Standalone Payment Terminal
For merchants without a POS integration, payments can be accepted directly from the terminal by manually entering the amount on the device.Transaction visibility varies by market: Some markets support real-time transaction notifications to Xendit, making transactions visible in your Dashboard immediately. Other markets use batch settlement files sent T+1 or later, meaning transactions appear in your Dashboard after the batch is processed. Contact your Xendit representative to understand the notification timing for your specific market.
Settlement
Funds are settled into your Xendit Balance within T+2 days after the transaction settlement is completed on the device. You can view all in-person transactions and settlements from your Xendit Dashboard, alongside your online payments, for a unified reconciliation experience.Getting Started
Ready to start accepting in-person payments? Follow these three simple steps:1
Apply for a Terminal
Reach out to our team at [email protected] to request your terminal(s).
2
Integrate with Xendit
Use our API documentation to connect your POS or custom software.
New to Xendit’s Payment Terminal? Start with our quickstart guide to get your first terminal payment processed in under 10 minutes.
3
Go Live and Accept Payments
Once approved, you’ll receive your device, complete onboarding, and start accepting in-person payments.
Integration Guide
Prerequisites
Before you begin integration, ensure you have:- Terminal API key from the Xendit In-Person Payment team (for API authentication)
- Terminal Gateway client key from the Xendit In-Person Payment team (for SDK/app initialization)
- Terminal Gateway set up (desktop app or Android/iOS SDK)
- A terminal with Terminal ID and network connectivity
- Your environment base URL:
- Development:
https://terminal-dev.xendit.co - Production:
https://terminal.xendit.co
- Development:
Two different keys: The Terminal API uses an
API_KEY for authentication, while the Terminal Gateway SDK/app uses a CLIENT_KEY for initialization. Contact the Xendit In-Person Payment team to obtain both keys.Quick Start
Quick Start Guide
Follow our step-by-step quickstart guide to integrate Xendit payments and process your first transaction in under 10 minutes.
Payment Terminal Solutions
Xendit’s Payment Terminal consists of two main components that work together:Terminal API
Create and manage payment sessions for in-person transactions. Handles payment processing, callbacks, and transaction management.
Terminal Gateway
Connect and manage physical terminal devices. Available as desktop app and mobile SDKs for Android and iOS.
Integration Workflow
- Create a session with Terminal API for an amount, currency, and terminal.
- Execute on device through Terminal Gateway; the customer taps/inserts/swipes.
- Receive callbacks for real-time status updates.
- Query details for reconciliation or show receipts.
Don’t have a physical terminal yet? Start with our comprehensive quickstart guide which includes detailed simulation testing options that let you build and test your integration immediately without hardware.
Key Features
Explore the essential capabilities of Xendit’s Payment Terminal:Payment Callbacks
Receive real-time payment notifications and status updates through our webhook system for transaction monitoring.
Device Management
Configure and manage your terminal devices using the Terminal Gateway application with step-by-step setup guides.
Platform-Specific Guides
Choose your development platform for detailed integration instructions:Android SDK
Native Android development with Kotlin SDK for terminal device integration.
iOS SDK
Native iOS development with Swift SDK for terminal device integration.
Terminal Gateway App
Desktop application setup and configuration for managing terminal devices.
Developer Resources
Everything you need to build with Xendit’s Payment Terminal:Migration Guide
Migrate from Xen BRI SDK to Terminal Gateway SDK with detailed code examples and architectural changes.
API Reference
Complete Terminal API documentation with endpoints, authentication, and response schemas.
Finding Terminal Information
Learn how to locate your terminal ID and IP address for different terminal providers.
Support & Help
Get personalized assistance from our Terminal API support team for integration questions.
Need Help?
Contact Terminal Support
Get personalized assistance from our Terminal API support team for integration questions, device setup, or technical issues.